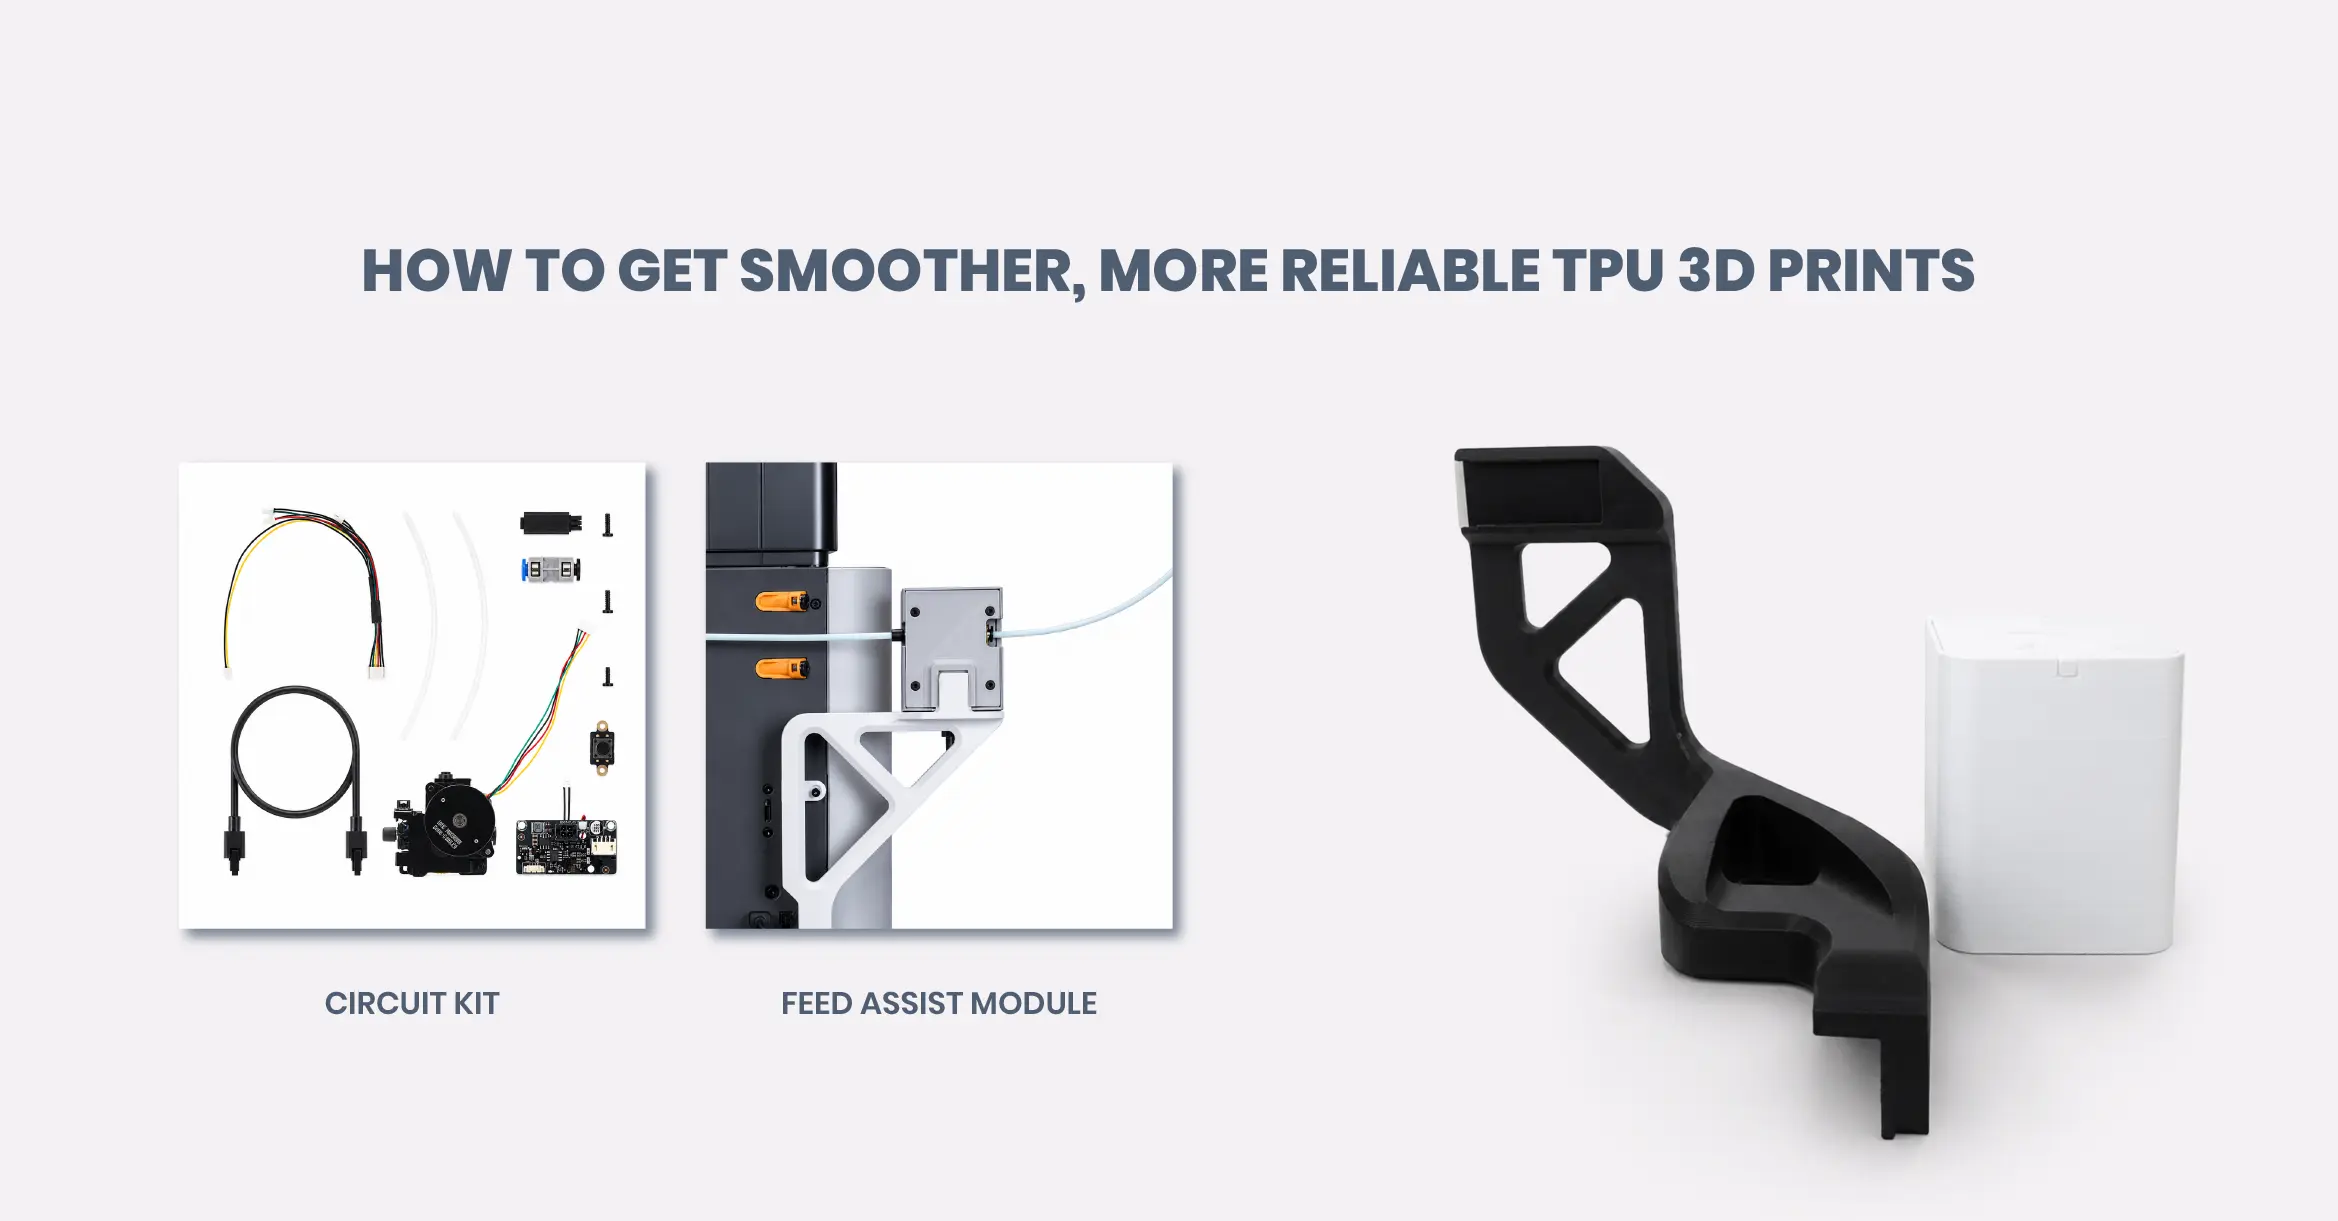
How to Get Smoother, More Reliable TPU 3D Prints

Written By
marketing
How to Stop TPU 3D Print Failures: Build Your Own TPU Filament Feeder
A DIY Flexible Filament Feeder Upgrade for Smooth, Jam-Free TPU Prints on Bambu Lab Printers
By SWbAC | www.swbac.com
Quick Summary: Printing TPU filament without the right setup can often lead to tangled, under-extruded, or completely failed prints. In this guide, we break down exactly why TPU jams standard printers and walk through building a simple, 3D-printed TPU filament feeder that keeps flexible filament flowing smoothly—no more spaghetti prints, no more wasted filament.
Purchase Bambu TPU Feed Assist Module From SWbAC Website .

SWbAC Bambu TPU Feed Assist Module
Why Is TPU Filament So Hard to 3D Print?
TPU (Thermoplastic Polyurethane) is one of the most popular flexible filaments in 3D printing, prized for its rubber-like elasticity, impact resistance, and durability. It’s the go-to material for phone cases, gaskets, wearable parts, and any print that needs to bend instead of break.
But that same flexibility is exactly what makes TPU one of the most frustrating filaments to print reliably.
Unlike rigid filaments such as PLA or PETG, TPU compresses and buckles under pressure instead of feeding in a straight, controlled line. On many printers—including popular models like the Bambu Lab series—the stock extrusion path simply isn’t designed to handle a soft, stretchy filament over long distances.
The result is a familiar and frustrating failure pattern that shows up mid-print with no warning.
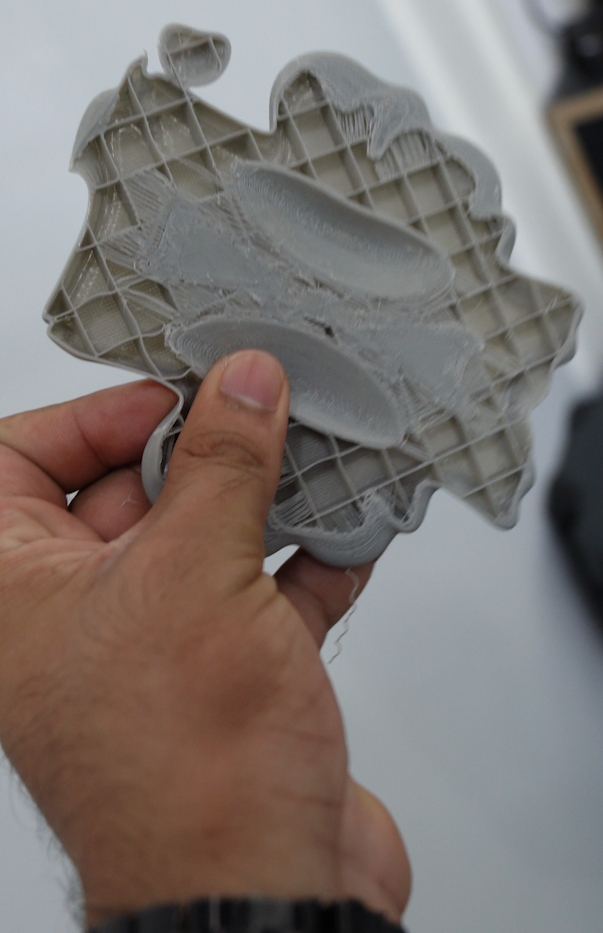
Figure 1: A failed TPU 3D print—the flexible filament buckled and caused under-extrusion because it was not properly guided into the extruder.
Common TPU 3D Printing Problems
-
Filament buckling or coiling before it reaches the extruder gear
-
Grinding and stripped filament caused by inconsistent grip pressure
-
Under-extrusion, resulting in weak, stringy, or collapsed layers
-
Print stoppages triggered by AI flow-monitoring systems, such as Bambu Lab’s built-in error detection
-
Wasted filament and failed prints, especially when printing longer or more detailed models
The Root Cause: A Missing Support Point in the Filament Path
Most desktop 3D printers are engineered around rigid filament. The distance between the spool and the extruder gear assumes that the filament will travel in a straight, stiff line.
TPU doesn’t behave that way—it flexes and folds under even light back-pressure, especially when it has to travel farther or pass through tighter tube bends before reaching the drive gear.
The fix isn’t a firmware tweak or slower print speed alone—it’s mechanical. TPU needs a dedicated feeding point close to the extruder that pushes the filament in with consistent, controlled tension. This removes the slack and unsupported length that causes the filament to buckle in the first place.
The Solution: A DIY 3D-Printed TPU Feeder
That’s exactly the gap this build fills. Instead of buying an expensive proprietary upgrade, you can 3D print your own TPU filament feeder module using a handful of downloadable parts, a small drive motor and gear assembly, and basic hardware you likely already have on hand.
Once mounted, it acts as an auxiliary drive stage that feeds TPU into the printer under steady, even pressure—dramatically reducing buckling and failed prints.
Watch the TPU Filament Feeder in Action
Step 1: Download and Print the TPU Feeder Parts
The build starts with a set of printable bracket and housing parts. These components hold the drive gear, motor, and filament guide in alignment and mount directly onto your printer’s frame.
Print these components using a rigid filament like PLA or PETG for structural strength.
The required files are available on the MakerWorld website:
TPU Feed Assist Module – Housing and Frame
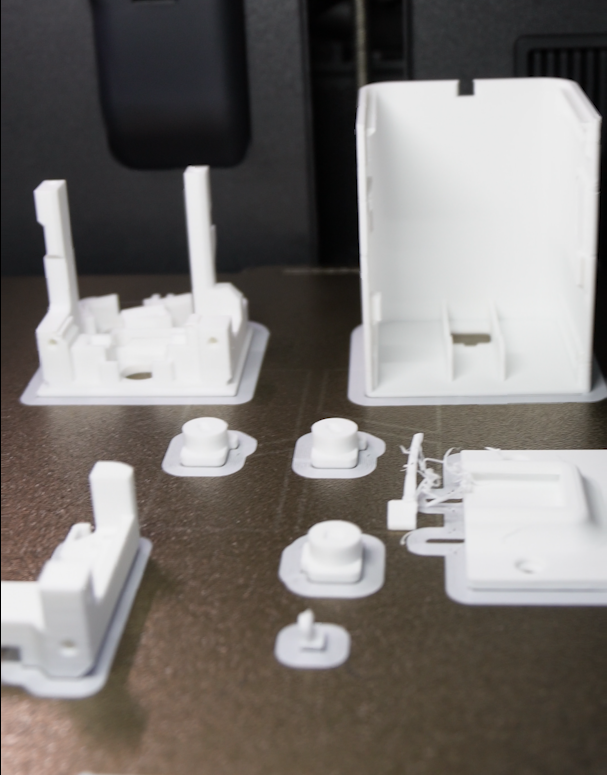
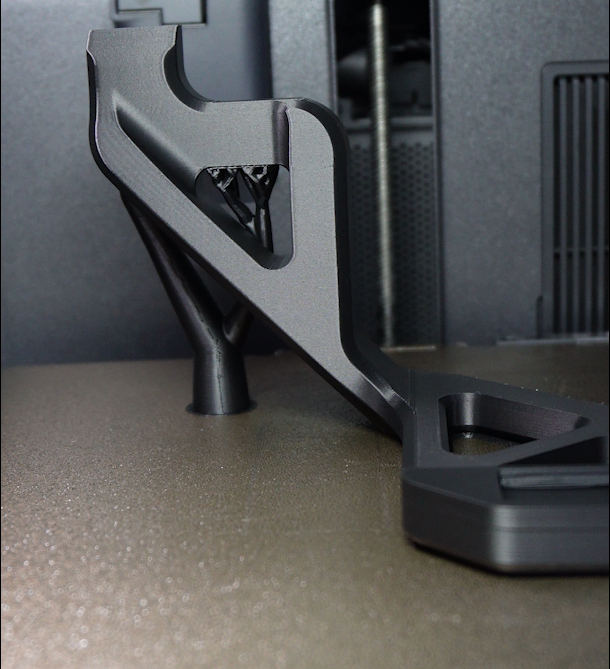
Figure 2 & 3: The 3D-printed TPU feeder bracket parts, freshly removed from the print bed.
Step 2: Assemble the TPU Feeder Module
Next, assemble the small drive components—the motor, pinch bearing, and hardware—into the 3D-printed housing. This module grips and pushes the TPU filament forward, working in tandem with your printer’s main extruder rather than replacing it.
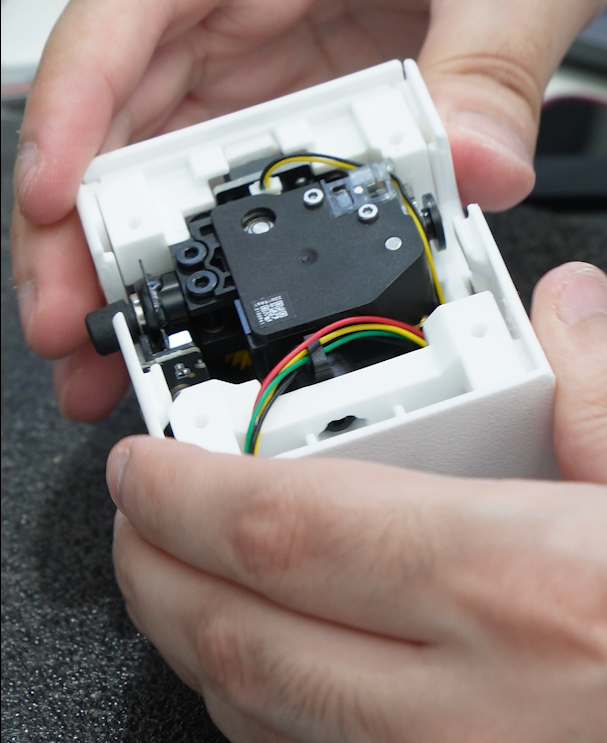
Figure 4: Assembling the internal TPU feeder drive module by hand—the motor, gear, and bearing come together inside the 3D-printed housing.
Step 3: Mount the TPU Feeder and Route the Filament
With the module assembled, clip it onto the printer housing near the top of the frame. Then, use a short length of PTFE tubing to guide the TPU filament from the spool, through the feeder, and down into the toolhead.
This provides the filament with continuous support along its entire path, instead of allowing it to hang loose and unsupported.
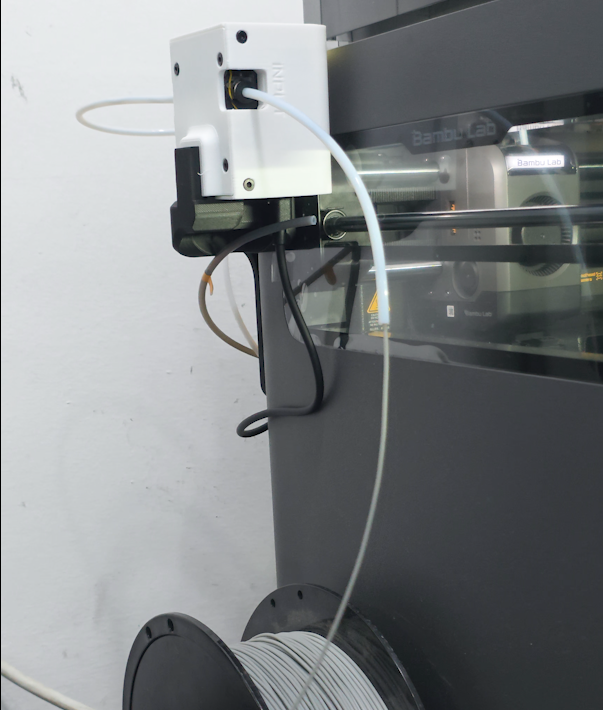
Figure 5: The completed TPU feeder mounted on a Bambu Lab printer, with PTFE tubing guiding the TPU filament from the spool into the toolhead.
Before & After: The Difference a TPU Feeder Makes
The clearest way to see the impact of this upgrade is through a direct side-by-side comparison. Same printer, same TPU filament—the only difference is whether the feeder was installed.
BEFORE
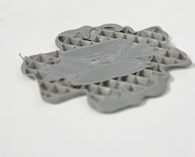
Without the feeder: buckled, under-extruded TPU
AFTER
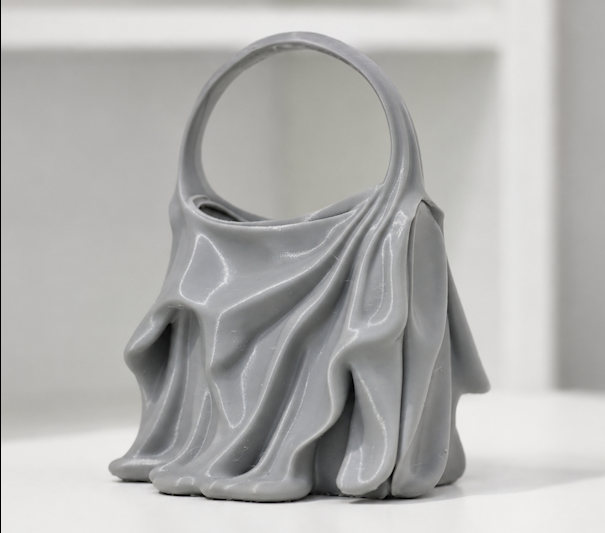
With the feeder installed: smooth, fully formed print
The Results: Clean, Reliable TPU 3D Prints
With the TPU feeder installed, the same printer that previously struggled with buckled and failed TPU prints was able to produce a complex, fully flexible model with smooth, consistent extrusion from start to finish—no jams, no grinding, and no dropped layers.
Should You Build a TPU Feeder for Your 3D Printer?
If you print flexible filament regularly, a dedicated TPU feeder is one of the highest-value upgrades you can make. It’s inexpensive, mostly 3D-printed, and solves a mechanical problem that no slicer setting can fully fix on its own.
Whether you’re producing phone cases, custom gaskets, or flexible enclosures, this small addition can be the difference between a shelf full of failed prints and a reliable production workflow.
Who Is This TPU Feeder Upgrade For?
-
Makers who frequently print TPU, TPE, or other flexible filaments
-
Bambu Lab and similar printer owners experiencing flow-related print stoppages
-
Anyone tired of wasted filament caused by buckling or under-extrusion
-
3D printing enthusiasts who enjoy practical, printable upgrades
Final Thoughts
TPU doesn’t have to be the material that ruins your print queue. With a properly supported filament path—achieved through a simple, printable feeder module—flexible filament can be just as reliable as PLA or PETG. It’s a small mechanical change with an outsized impact on print success rate.
Ready to build your own? Head over to SWbAC for the downloadable files, parts list, and full build guide.
Keywords: TPU filament feeder, DIY TPU feeder, flexible filament 3D printing, Bambu Lab TPU upgrade, fix TPU print failures, TPU extruder jam, 3D printer filament feeder mod
Tags
Categories
3D Printing Kuwait
(1)
Creality Ender 3 Upgrades & Modifications
(1)
3D Printer Upgrades & Calibration
(1)
3D Printing Guides & Tutorials
(1)
Creality CR-10 S5 Upgrades: SKR Mini E3 V3 & Micro Probe Guide
(1)
3D Printer Troubleshooting
(1)
Filament Guides
(1)
Resin 3D Printing
(1)
3D Printing Using TPU Filament
(1)
Robotics for kids
(1)
Recent Posts
Do Kids Need to Learn Robotics?
2026-10-06

Archives
Oct 2026
(1)
Sep 2026
(1)
Jul 2026
(2)
Jun 2026
(6)
More From marketing
Do Kids Need to Learn Robotics?
2026-10-06